Tickery – A Time Tracking Device using Raspberry Pi and Harvest
For hackathon at our company each year, I work on things that differ in classification from the day to day work that I do. These hackathons typically start on a Friday and end on the following Monday giving us about 4 days to work on each project (with the caveat that we still have to prioritize client work). We are free to work on our own ideas just so long they are feasible in scope and can be targeted to be completed over the weekend.
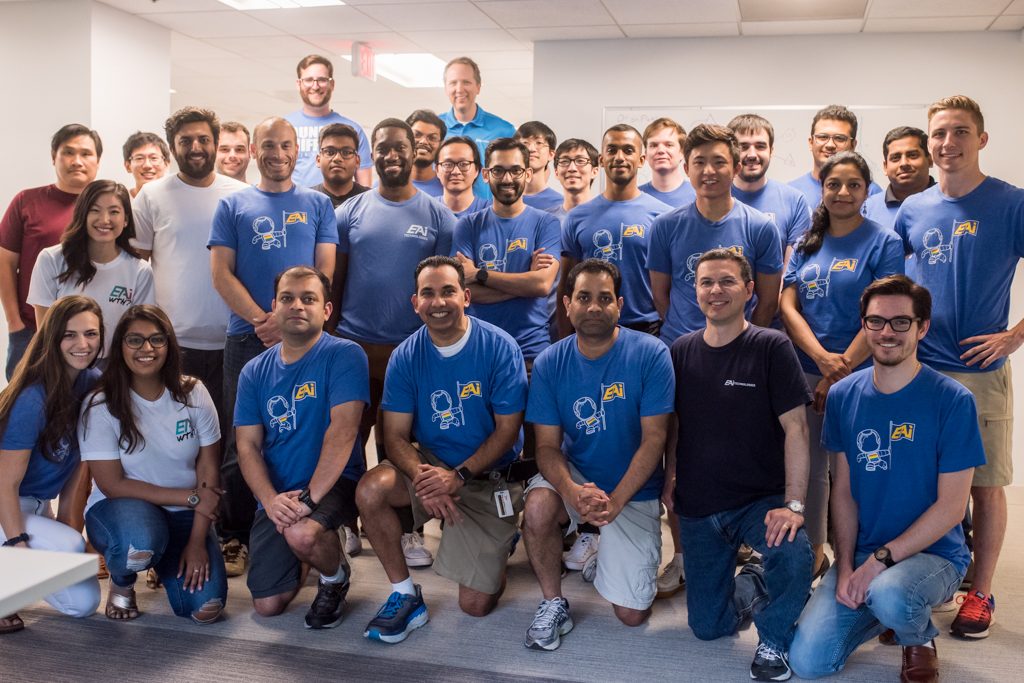
Participants of EAI Hackathon 2019 
Participants of EAI Hackathon 2019
Two years ago, I’d worked on implementing a Physical Kanban board with a coworker that allowed users to maintain a physical board for kanban sprints and once an image is taken of the board and uploaded, our application would run image recognition (using Google Vision API) on the image and translate all the tasks written in post-it notes to tickets in Trello board on their respective board columns. These tickets could be worked on after the fact to have more details and a later instance of the image capture would retain all additional information or delete the ticket if the ticket is closed or removed from the physical board.
While the Physical Kanban project and the other projects I’d worked on during hackathons thus far were exclusively software applications, this year, I’d decided to go for a project that involved making my own hardware and the software to make it all work.
But I did not want to build something for the sake of just building. I actually had a real problem at hand and with the ideas of some close friends, found the right solution to my problem.
The Problem
At EAI Technologies, we keep track of our time through Harvest application and in the best of days and circumstances, it is a hard task for me to keep track of time with it. This is where a physical device to start and stop a timer, that would be integrated with Harvest API, would be so much easier for me to visually keep track of time spent in different projects. So as far as that problem goes, Tickery would be the perfect device to solve the problem.
The Solution
As with Physical Kanban project, human beings are more attentive to physical interaction than keeping up with software applications. So while the intangible world of software keeps us connected, it could easily be lost on us to keep up with mundane tasks such as time keeping. Enter Tickery. The goal of this device is to start and stop timer for various projects (mutually exclusively) as you see fit. This could be beneficial for developers such as myself or for project managers or even product people to keep track of their project hours for future analytics or just simply maintaining timesheets (if applicable to them).
Tickery (Final Product)
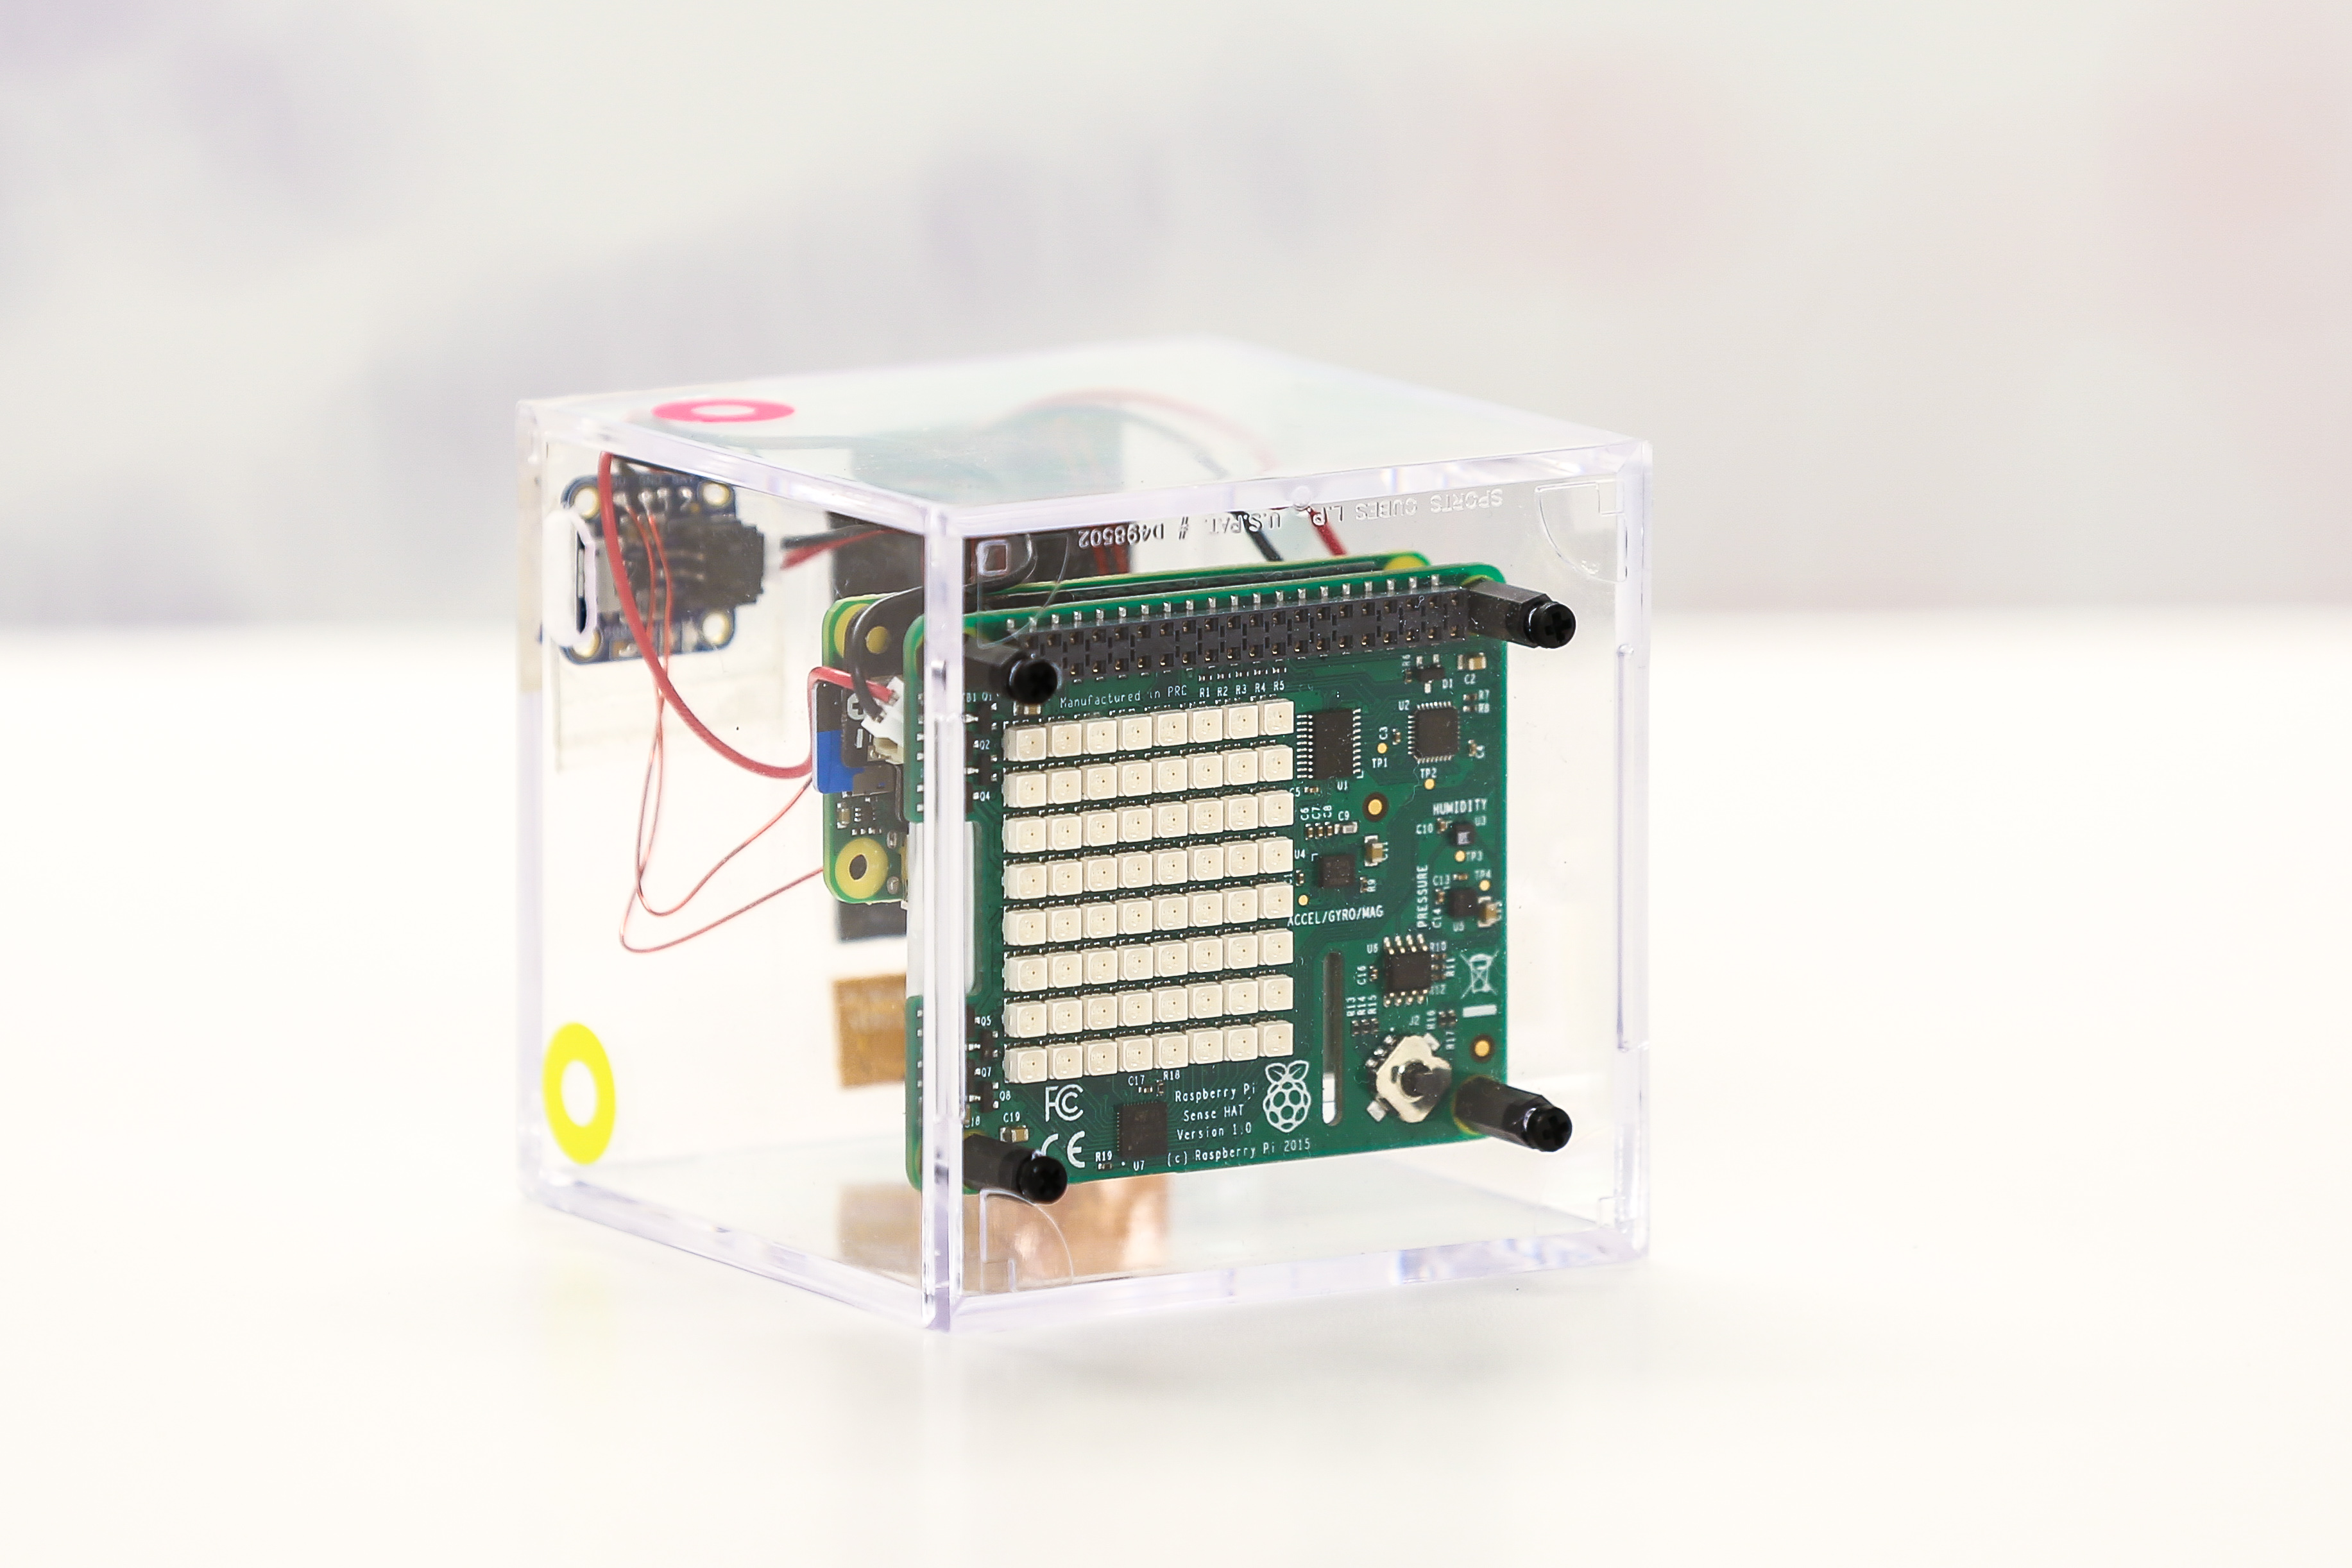
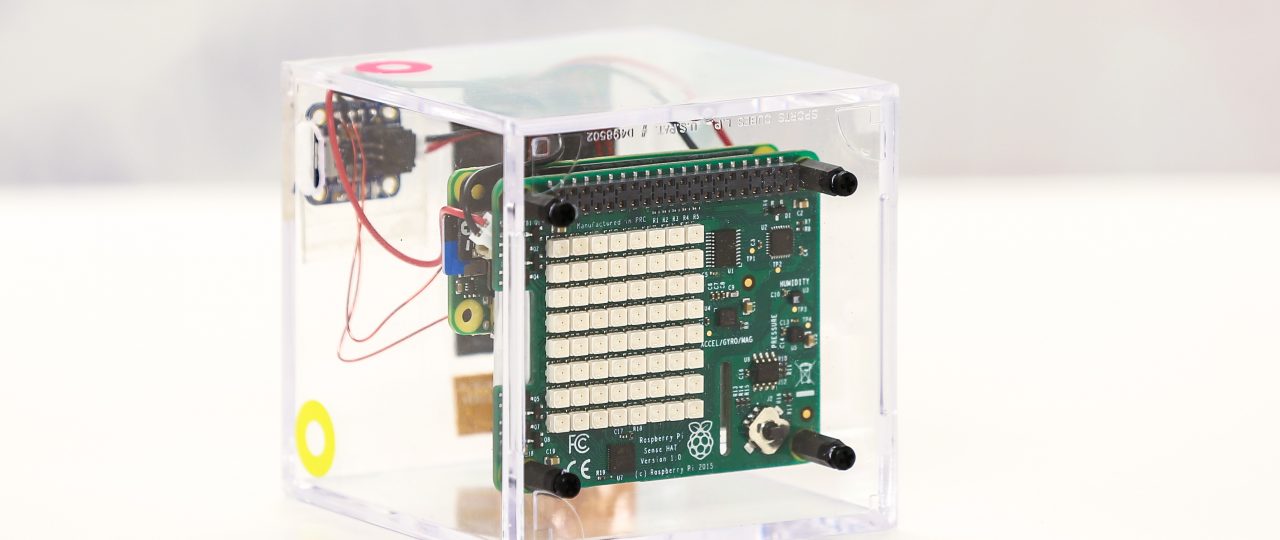
The general plan for the device was to be a polyhedron shape where flipping on each side would trigger a timer to start. There would be neutral position which would trigger all timers to stop. I also wanted a display on the top that, when flipped to one of the sides, would display the name of the project/task that it started tracking. The orientation of the display needed to based on which side it was flipped on and the color of the screen should reflect the color each side is marked with. I wanted a case that would fit all the hardware – and went against my usual tendency to make something out of wood. I opted for transparency (literally) such that it would showcase the inner parts of the device – and the Container Store had just the thing staring back at me from one of the shelve racks – an acrylic Baseball display cube. With a little bit of drilling, this became the perfect case for the job.
Hardware
For this project, I’d decided to go with a Raspberry Pi Zero W that has builtin Wifi and Bluetooth support and a Raspberry Pi Sense HAT that comes with bunch of sensors, joystick, and an 8×8 LED Matrix display. Sense hat has extensive libraries and jam packed hardware features that I could take advantage of and even expand functionalities on in the future if I wanted to (like triggering e-emergency alerts for fire emergency, and so on). I’m using the joystick (although not made accessible from outside the case) to show which project the timer is active for and to do a safe shutdown of the pi if needed so that I don’t end up corrupting the SD card with having to pull the plug on the pi every time I need to turn off the device (or having to SSH in to the box and turning it off that way first).
Powering the device
To power the Pi and the Sense Hat, I used a 1200mAh 3.7v Lipo battery. The pi and the Sense Hat actually needs 5v input, so I used a voltage regulator that takes in 3.7v and delivers a constant 5V output and also does a clean shutdown of the Pi if the voltage falls below a certain threshold. This is where the Pimoroni Zero Lipo circuit shim came in to play. The only thing I do not like about the Zero Lipo, however is that you actually need a separate circuit to charge the Lipo battery. For that purpose, I used Adafruit’s Micro USB Lipo battery charger, a small device that is capable of accepting 5V input and charge the 3.7v Lipo battery while delivering the same 3.7v out for consumption at the same time as charging the battery.
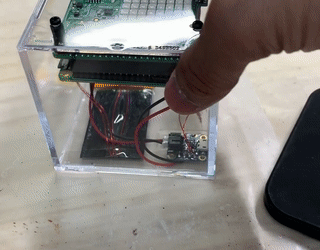
So along with the capability to charge the Pi over micro USB, I also wanted to power the device wirelessly using a Qi charger. This was made possible with Adafruit’s Wireless Qi Receiver which I am pretty excited about. The Qi receiver delivers 5V output at 500mA and paired with the Lipo Zero, battery and charger, the Pi is capable of running on its own completely wireless for a long time.
Components Used
Features
Software
At the heart of the device is a python script that I run that pulls in the project mappings for each side of the tickery device that constantly monitors the Sense HAT’s IMU sensors to sense the orientation of the device. This python script can be found at my GitHub here.
As for the Restful services to keep track of the project mapping for each side of the Tickery device, I’d created a simple Spring Boot based application that uses elasticsearch as the data storage. I’ve used a docker container to run the elasticsearch instance, but you could easily use a hosted service or even a local instance if you so desire. You can follow my tutorial on a similar project from here Spring Boot Starter App with Elasticsearch.
The UI I built was a very basic Angular app that allowed me to map each of the four sides to one of the project assignments I have in Harvest. Details on using Harvest API can be found here. For this, I needed a personal access token from Harvest, which could be created here.
Additional Features
One of the features that I was able to implement last minute was a proximity based start/stop trigger for currently active timer. For this feature I have the bluetooth address of my phone being searched for over bluetooth while at least one timer is active. If this feature is turned on, then the active timer would be stopped if, let’s say, I walk out to grab lunch and would resume the active timer if I’m back to my desk. This reduces the complexity of having to worry about leaving behind the device when I’m going leaving for home or just the work premises in general. This feature can be turned off as one wishes, but for me, this is a perfect feature that I see forgetful self leveraging quite heavily :). If I’m working from home and I leave the device on an active side, I can simply turn off the feature through the web portal.
Future Features
The Sense Hat has a bunch of sensors that I did not take advantage of for the hackathon project, but it is totally feasible to take advantage of the temperature and humidity sensor to trigger fire alarm if temperature sensor picks up an alarmingly high temperature calling. This could conceivably be done using SingleWire API or Ring API for instance. I haven’t done much research on this area but something I look forward to doing in the future.